Antique Curio
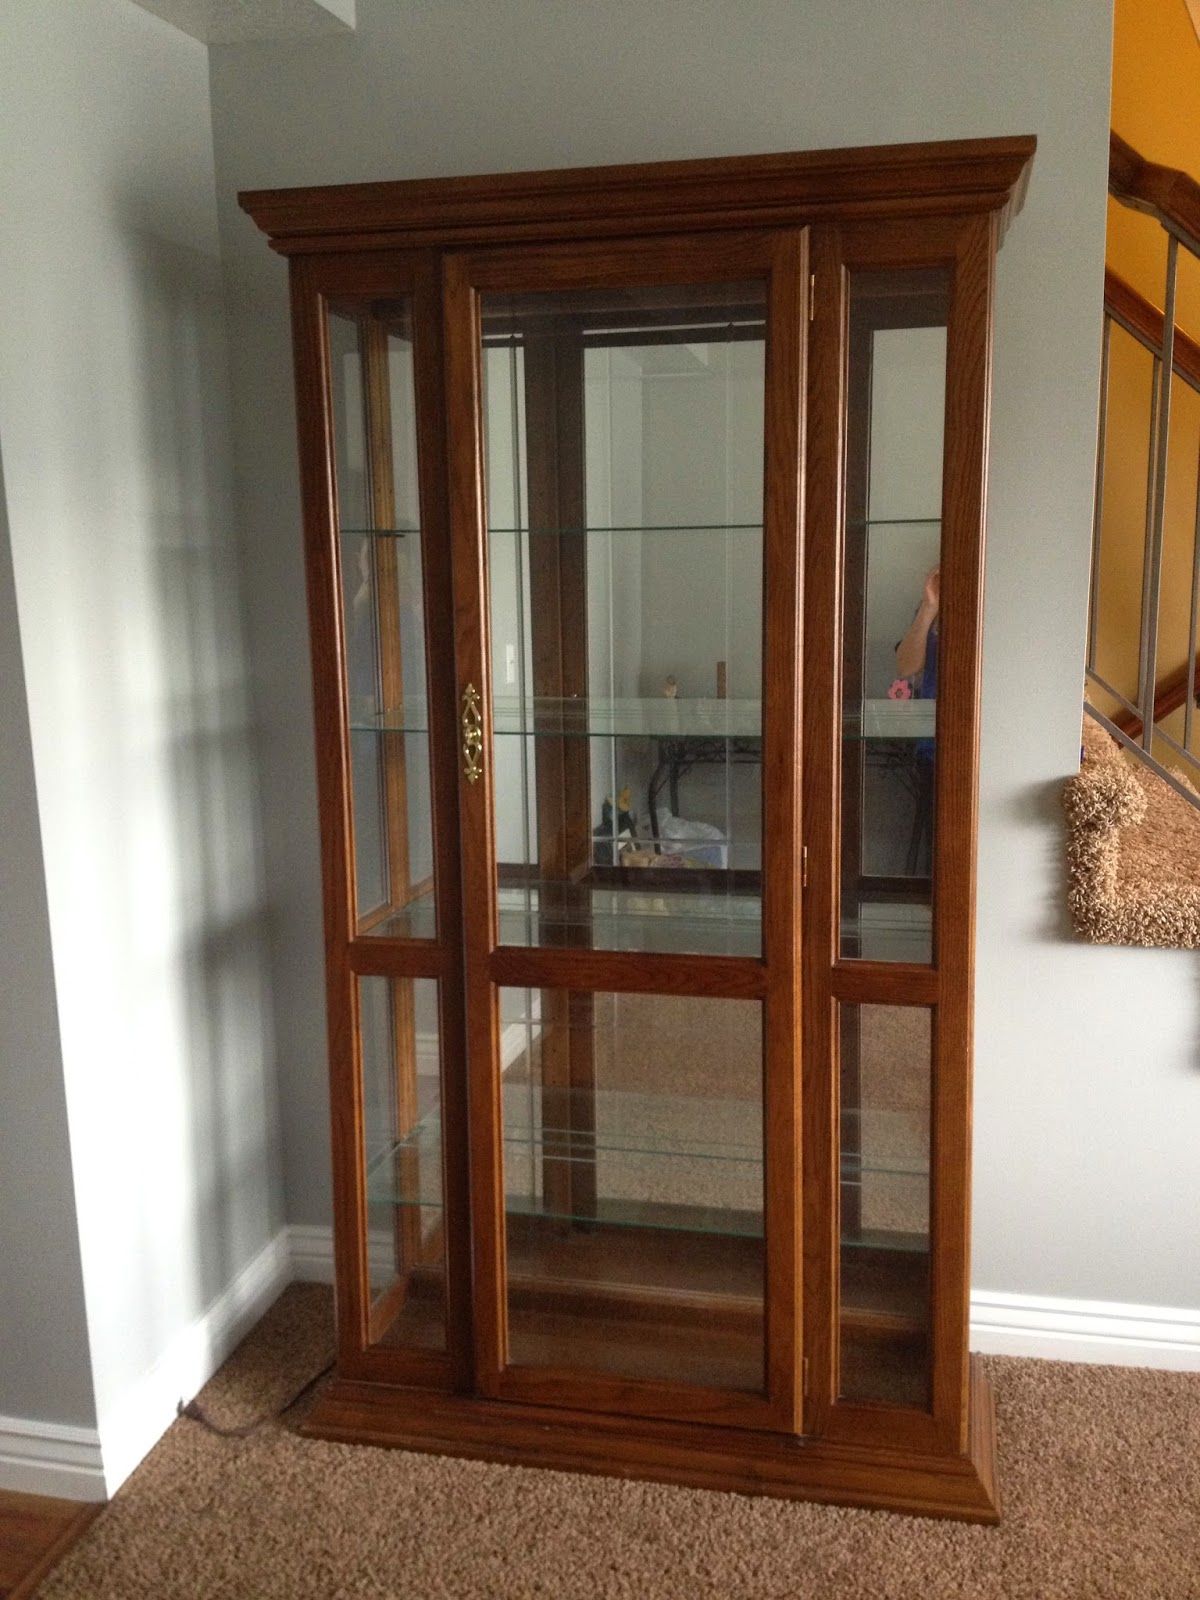
I had a curio in my living room, that was given to me for free, by one of Brandon's uncles. It was okay, but I never loved it, and I didn't really have the stuff to fill it. I did put my china in it, but it was meant more for collectibles.
When I sold everything in my living room, I decided to sell it too, and find myself a really cool antique, to hold my collectibles instead. I LOVE antique furniture, especially buffets, hutches, and curios. I sold my curio for $100, and set the money aside to spend on the perfect antique.
Most of the pieces I found were priced well above my $100 budget, but I am patient. Then one day, I found this...
It had paint splatters, it was missing the glass, and it was really worn (or possibly chewed) at the feet, but I was in love! So, I brought it home, and brainstormed what I wanted to do.
The first thing I did was give it a thorough cleaning. Very thorough. This piece was from 1926. Who knows what kind of grime, was on there. Also, I inspected for any signs of spiders, bugs, and anything else I wouldn't want to bring in my house. This is my least favorite part. Since this piece is so old, it smelled a little musty too, so I wanted to remedy that before bringing it in as well.
Step two, a light sanding, followed by another cleaning. I can't emphasize the importance of cleaning enough.
Once the piece was clean, it was time to take care of the smell. I use Zinsser spray Shellac any time I have smells, or bleed through. Both of which tend to be a problem with old or knotty woods. It dries quickly, and can be sanded over without unsealing. The best part is that it is clear, so you can use it between paint coats if you notice bleed through, and you don't have to completely start over with your paint coverage. I did two coats, and left it outside to dry until the smell was gone. The shellac smells very strong. Never use indoors, and wear a mask.
At this point, I moved the piece inside. It's easier for me to paint inside because I can do it while the kids are playing, and still keep an eye on them. Plus, it was so hot. I use chalk paint, which is VOC free, and safe to have in my house as well.
I wanted the inside to be different from the outside, to make whatever is on the shelves pop. I decided to paint the shelves a lighter color, and add some fabric to the back panel. I painted the shelves and side panels first, then sealed them, so they were completely finished. I gave them a couple days to cure, so that I wouldn't mess them up when I worked on the back panel. Also, I knew the adhesive would be messy, and I wanted to be able to wipe it off the shelves and sides of the unit easily. I use a product by Shabby Paints, called Vax. It's awesome! I will do a post in the near future, where I tell you all about it, but let's get back to the fabric adhesion...
This was not easy, and I could not have done it alone. Brandon and I worked together. We used spray adhesive and we worked from the center, out, from top to bottom. We used a straight edge to smooth it and wedge it into the corners. Then Brandon cut the edges with a razor blade. I was too scared I would ruin it.
With the inside complete, I was ready to paint the outside. I had decided on Annie Sloan's Duck Egg Blue because it matches pretty closely with my cute accent table that sits in the same room.
I painted two thin coats over the entire thing. Dipping my brush in water periodically, to help the paint spread smoothly and evenly. This is just a personal preference when working with chalk paint. Here is how it looked.
I wanted it to look aged, since it is an antique, and I wanted to help the details stand out, so I went ahead and did some wet distressing, and then I sealed it with a coat of Vax, followed by a coat of Hazelnut ReVax. The revax is just a tinted Vax, that works like a glaze, but has the sealer in it, so you don't have to seal on top. Then I fnished it off with a new knob. Here is how it turned out. I absolutely love it! I still need to replace the glass eventually, but for now, it is just fine!


Comments
Post a Comment