Trick For Hand Painting Unique Art!
So, you're not an artist, but you want a unique piece of art in your home? I have just the trick for you! I myself have been struggling with decorating my family room for quite sometime. I have big plans for the future, but in the meantime, it has been pretty much a blank slate. BORING!!! It was beginning to drive me crazy, and I didn't want to spend time in there.
Pardon my little photo bomber and his show:)
I needed something on the walls, but I couldn't find anything I liked. I also wanted something that I would still like when I finally get my new flooring, and my board and batten up on the walls, so I didn't want to get too much just in case. Just something. Something good. I have wanted to do some sort of pallet art for quite some time too, but I didn't want the same ones everybody else has, and i wanted to bring out some color. So here's what I did...
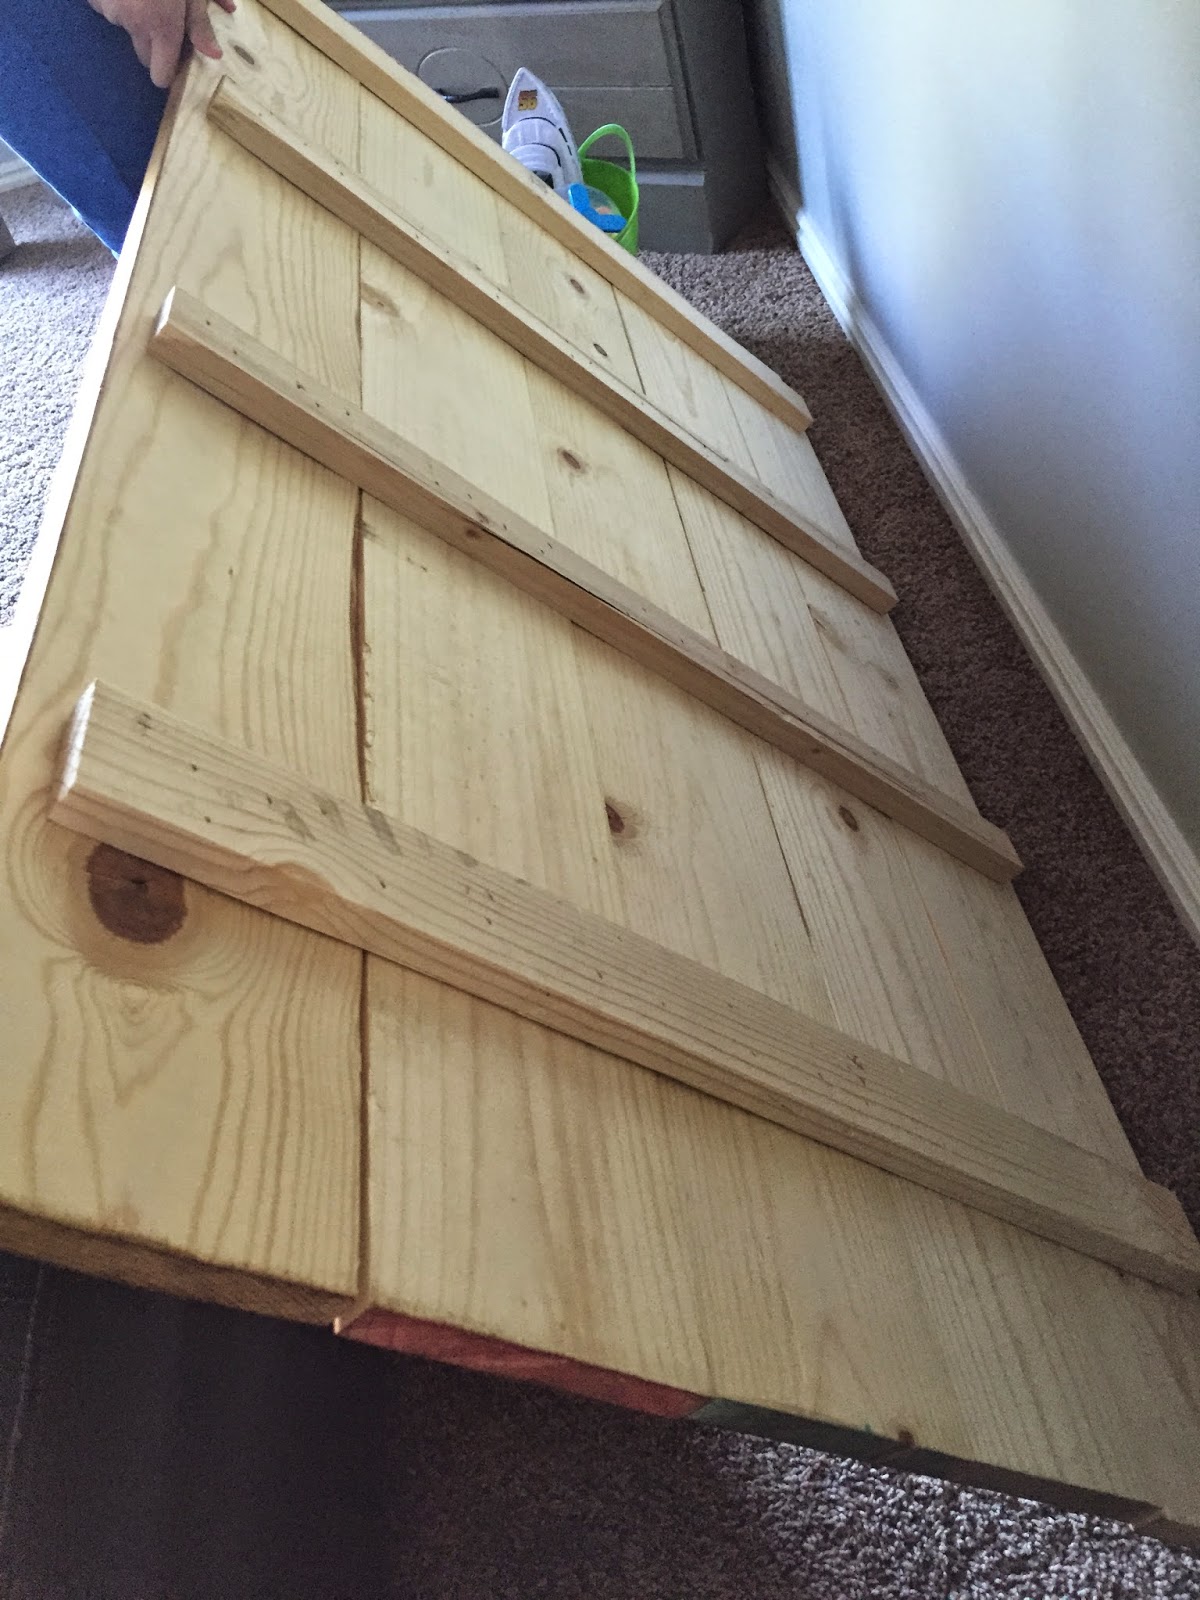
First of all, I cheated! I have three million projects in my garage. Many of them are for me to earn some income, and those tend to come before my own personal projects. I wanted to get this done fast, and I didn't have time to build my board. I found someone on a local FB site to build my board for me for $30. If you want to build your own, it is pretty simple. Mine is 5 planks cut to the length I requested, and held together by 3 vertical braces on the back. I snapped a quick picture of the back as an after thought, but I got a little too excited to paint, and didn't get a real before picture, so here's the closest I got. Oops!
I chose 5 different colors (one for each plank), and tried to pull from the pillows on my couches. For this project I used Rethunk Junk Paints. I applied each color in a wash technique, which means a little paint mixed with a lot of water. This makes it seep into the wood more like a colored stain, so you can still see the wood grain. The colors I used were (top to bottom): Lily Pad, Flamingo (mixed with some tangerine acrylic craft paint to make a coral), Peacock Feather, Burlap, and Sunflower.
After my paint was dry, I sanded a bit so that some of the natural wood was showing through.
Next, I rubbed one of my favorite products, Hazelnut ReVax, by Shabby Paints over top. You could use a conventional stain, but this is better because it's odor free, non toxic, and it is a stain and sealer in one, so it can be a last step. I did 2 coats, and called it a day. You can only do 2 coats of Vax, or Revax in a 24 hour period, and I had more work to do.
This was the hard part. I really liked the designs I had seen with Love Birds, especially the ones with bird families. I could only find images with up to 4 birds though, and I wanted 5 to match my family of 5. I found a quote that I thought was great for a family room, and I created my own image digitally in paint.net. Paint.net is a free program, that is mildly comparable to Photoshop. I use it for most all of my digital design needs, and free is always good in my book! Once I was happy with my unique image, I had it printed the same size as my board at Office Max. It cost me a little over $6
I taped it onto my board, and then I used a ball point pen to trace over the image, pushing HARD. I only did the branch and the birds the first day, because my hand was tired. If you click on the picture, and look closely you can see the indents I ended up with.
Then I got out my artist brush, and my Buffalo Brown Shabby Paint, and tried my best to stay in the lines. I needed two coats on all of it, and that was it for that day.
The next morning, I traced the letters, and did the same. I used Shabby Paints Vanilla Bear for the lighter words, and I had to take breaks in between, and jump around a lot so I was never messing up my wet paint. When I was all done, and my paint was dry, I did one last coat of Hazelnut Revax and Viola! A completely unique piece of art, created by yours truly. I was pretty proud. I kind of couldn't believe I painted it myself. If I can do it, so can you!
After hanging this on the wall, and also adding some curtains, my family room feels much more cozy! I love it! Now I just have to be patient until I can really tackle this room!
(Always a cartoon and a photo bomber!)


Comments
Post a Comment